How to save for web
One of the most common questions I get, is how do I get my photos to look good also on web.
Some even fear posting photos, since the end product doesn’t look the same after uploading it online.
Colors change and looks washed out, and the photo is no longer as sharp as it was in the post-processing.
Well, it is all about color profile and sharpening, and it is actually easy to fix.
Preparing the photo
Before saving, you need to do some extra sharpening. When saving for web the photo will lose some sharpness, and we don’t want that.
There are several ways to do this, but I do both the sharpening and the saving in Photoshop.
If you are willing do spend a few dollars, one easy way is to buy an Photoshop action. This also speeds up the process every time you’re saving a photo for web.
I use an action called TK-actions which is a fast and easy way to sharpen. When using this, you only need to set the vertical or horizontal size and the action fixes the rest.
But there is also an easy way to do it in Photoshop, by using Smart Sharpen.
Duplicate the layer and then go to Filter –> Sharpen –> Smart Sharpen.
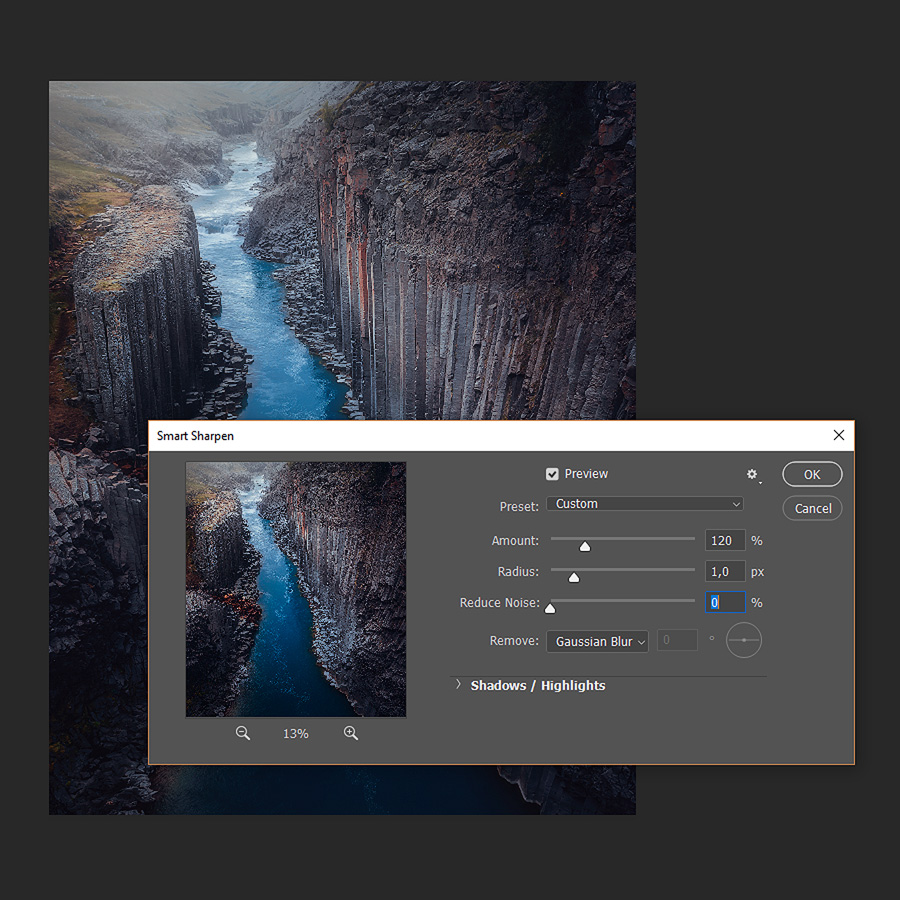
How much sharpening to apply will depend on what photo you’re sharpening, but you should sharpen it until it looks too much.
That way it will look sharp online. A good start is setting amount to 120, radius to 1 and 0 on reduce noise. Then zoom in and see what setting will look best.
If you sharpen too much, you will get haloing around the edges, so pay particularly attention to that.
If you still want to sharpen it that extra, you can avoid haloing by setting the sharpened layer to darken. Then duplicate that layer and set the next layer to lighten.
And since the sharpened photo is on a layer, you can also reduce opacity if you feel you sharpened too much.
To make it look even better, you should avoid sharpening the whole photo with the same amount.
But only sharpen the parts of the photography that should look sharp.
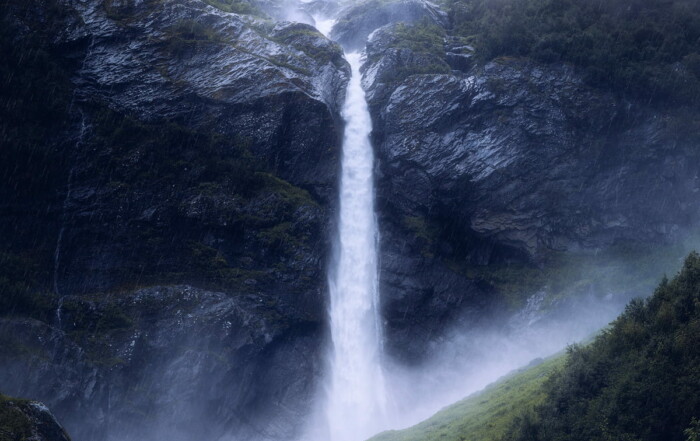
In the photo I have used as an example I would sharpen the rock columns the most, and less on the rest of the photo.
And the best way to do that is by using layer masking. I will not go into that in this article, but you can learn about it in my post-processing tutorials.
Choosing image size and saving for web
So now that the photo is sharpened, you will need to set the size to save it in.
If you’re saving for Instagram, set the width to 1080 pixels. The ideal size here is 1080×1350 pixels, which means a 4:5 ratio crop.
And when you post it on Instagram, be sure to sharpen it also here by going to edit –> sharpen in the app.
This works very well and you and easily push it to 40-50 without destructing it, and will give your photo extra punch on Instagram.
For Facebook set it to 2048 pixels on the longest edge.
But be aware; This will upload a HD version which can be downloaded by others and used for print.
If you want to avoid that, set the longest edge to 960 pixels.
But this will not look as good on screen as 2048 pixels.
If you are saving for your homepage, save it in the size you want.
When the size is set, you might want to add some extra sharpness again.
But this is all a matter of taste.
Then go to File –> Export –> Save for web (Legacy)
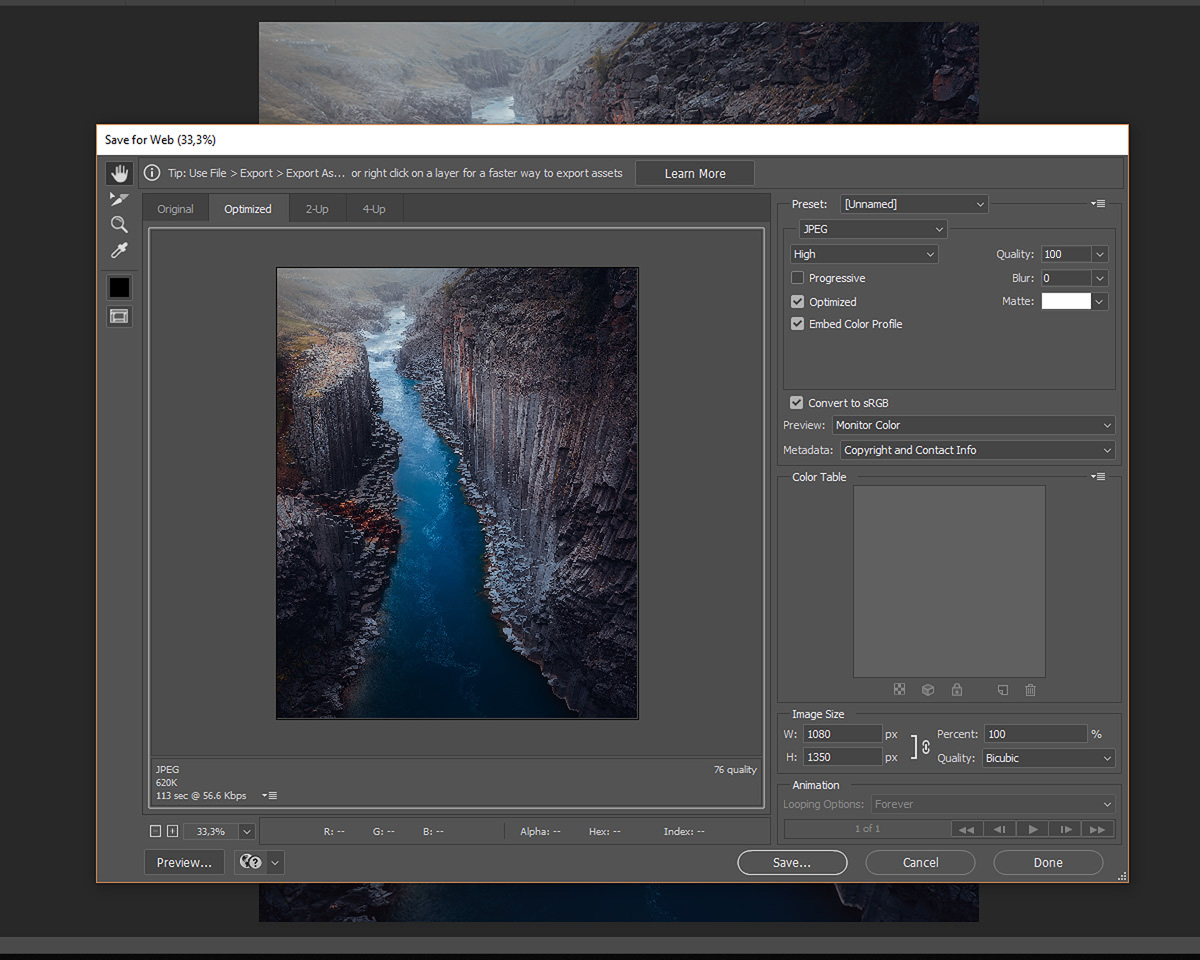
The most important thing here is to make sure that Convert to sRGB is checked, which is the color space used for monitors and screens.
If you forget this, the photos will look washed out no matter what when you upload them to web.
Also save them as JPEG and set quality to Bicubic.
Both when uploading to Instagram and Facebook you will get compression.
Therefore save it on max quality.
Also on Facebook, make sure that Upload HD is checked.
To do this head over to Settings & privacy –> Settings –> Media and Contacts.
Then tap Videos and Photos and check Upload HD if it is unchecked.
If you’re saving for you homepage, save it in the size you want.
But for a SEO point of view, you should compress your photos here.
And that’s it, your photo is ready to be shown to the world!
Recent articles
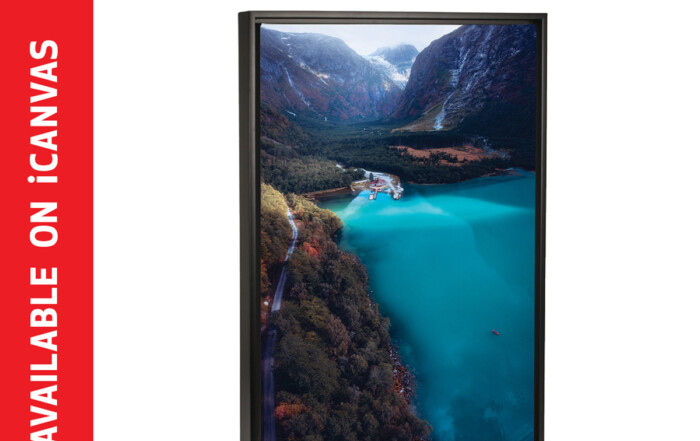
Buy my prints
Buy my prints I have teamed up with the American company iCanvas on selling my photography with worldwide shipping. They offer beautiful handcrafted canvases and wall art with lifetime warranty to a [...]
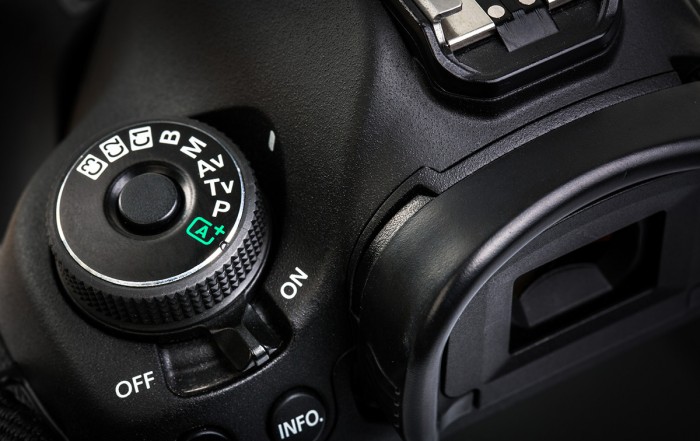
Setting up your DSLR
How to set up your DSLR In this article I will start with the single most important thing when shooting landscape photography; understanding how to use your DLSR in the best possible [...]
Supersize in Photoshop
Supersize your photos without quality loss in Photoshop In the latest Photoshop update (March 2021) they have dived deeper into the AI technology, returning with an impressive tool to double the size [...]