The Orton effect
In this article I will show you how to create the softening technique called the Orton effect in Photoshop.
This is probably one of the most popular post-processing techniques out there. It is really effective and can have a huge impact on your photos.
There are several ways to do this effect, but I will show you the way I soften my photos.
It is slightly different from the usual Orton effect, as I use an extra layer to give the light in my photos some extra softness.
I always add the Orton effect as one of the last things I do when I edit my photos.
So the example used in this article is a nearly finished photo from a local forest in my hometown.
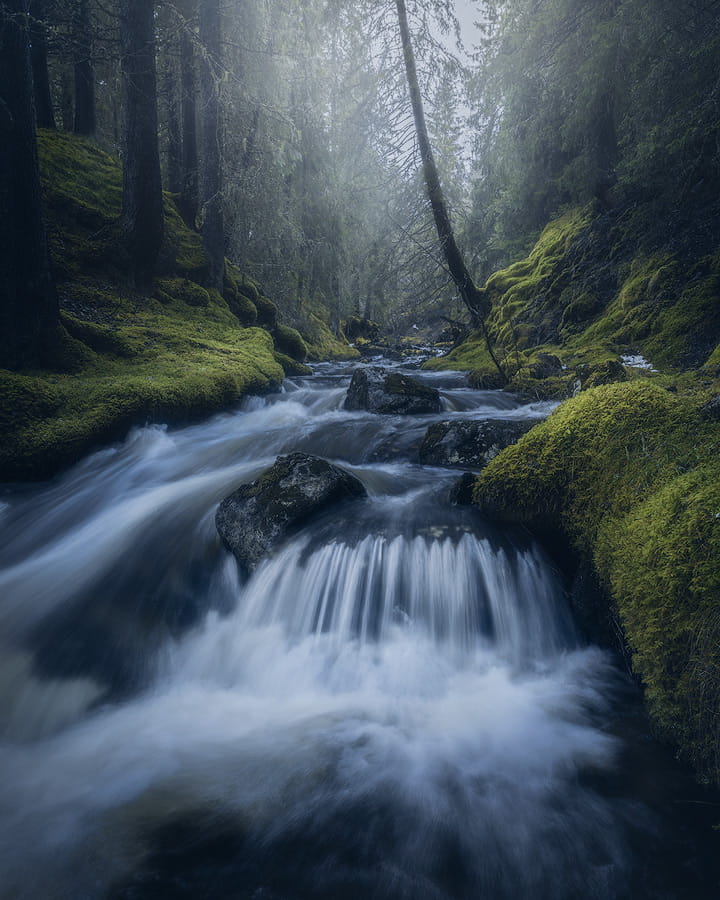
I always add the Orton effect as one of the last things I do when I edit my photos.
So the example used in this article is a nearly finished photo from a local forest in my hometown.
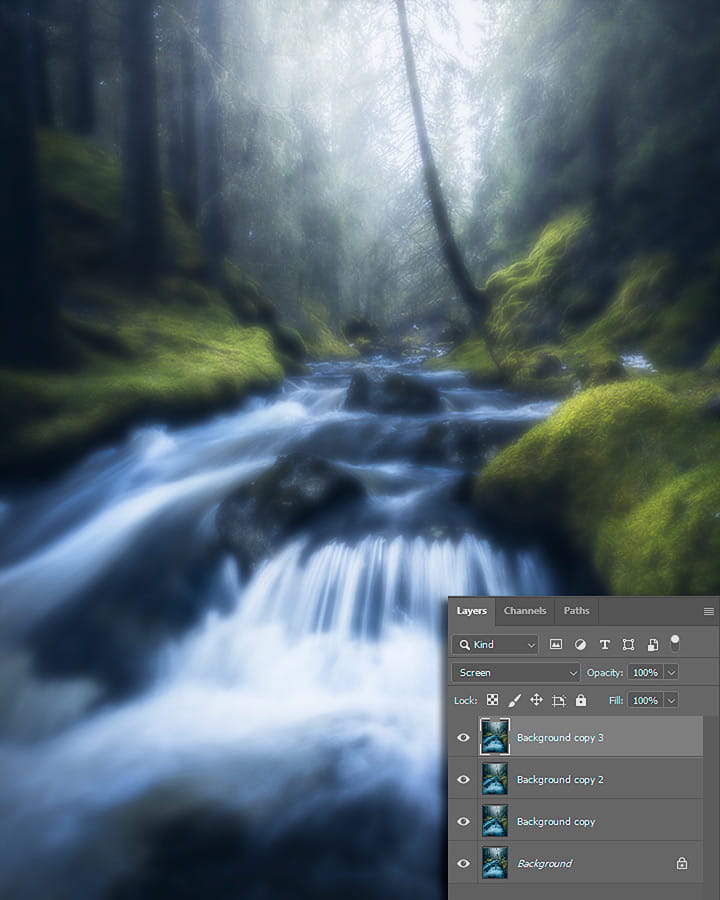
Duplicate the background layer and select the copied layer.
Set this layer to Soft light in the layers palette.
Head up to Filter –> Blur –> Gaussian Blur.
Set radius to 30 pixels and hit OK.
Duplicate the Soft light layer twice. Then set the last copy to Screen mode in the layers palette.
By using Screen mode on the last copy you will get extra glow to the light in your photos.
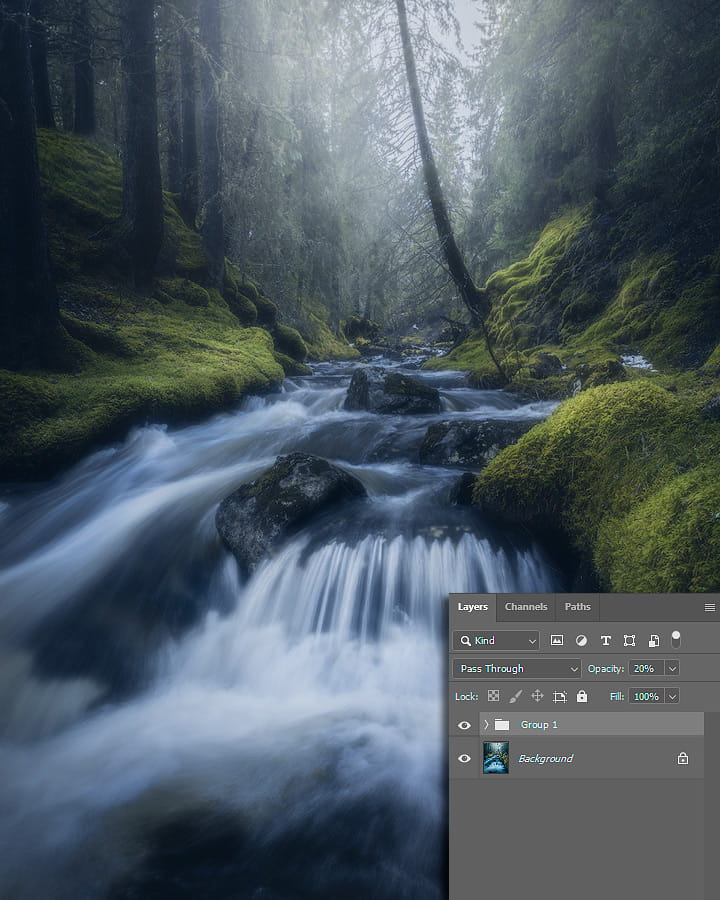
Now we need to lower the opacity on these layers to add the effect.
So with Background copy 3 selected, hold down the Shift key on your keyboard and then select Background copy.
This way the three blurred layers will be selected.
The hit Ctrl + G to group the layers. Now all three layers will be affected at the same time and with the same amount when we lower the opacity.
Lower the opacity quite a lot.
I seldom go above 12-13%. But on this example I have chosen 20%, just to better show the effect.
And that is how you create the Orton effect.
There are also a couple of things more you can do to make it look even better.
If you have the Nik Collection you can add Tonal contrast to bring some of the details back.
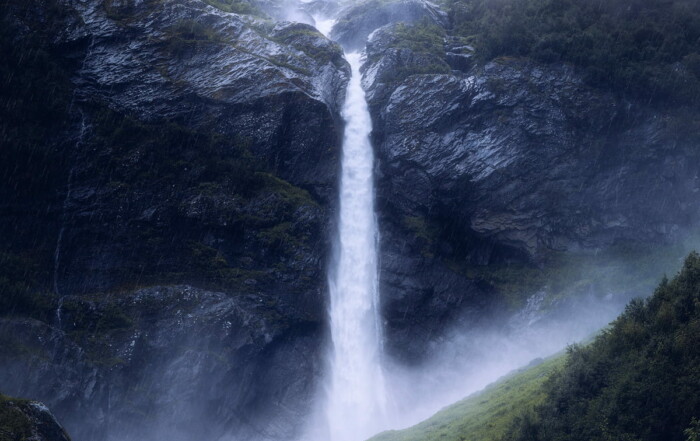
I also never soft the whole picture. On the example I have used here, I would not have softened the rocks.
But brushed away the softening on the rocks using a layer mask.
Learn more about my techniques in my post-processing tutorials.
And that is how you create the Orton effect.
There are also a couple of things more you can do to make it look even better.
If you have the Nik Collection you can add Tonal contrast to bring some of the details back.
I also never soft the whole picture. On the example I have used here, I would not have softened the rocks.
But brushed away the softening on the rocks using a layer mask.
Learn more about my techniques in my post-processing tutorials.
Recent articles
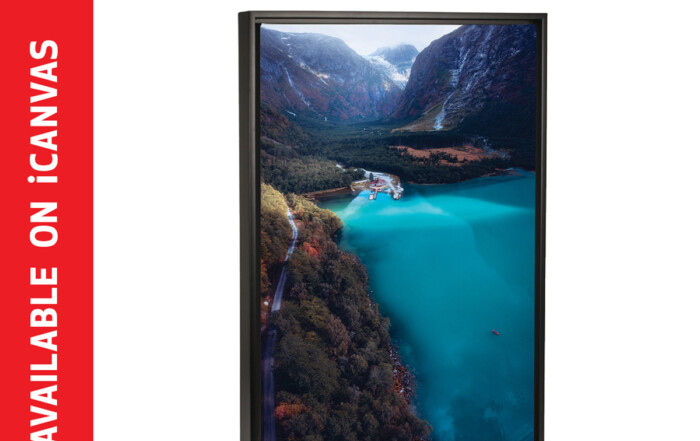
Buy my prints
Buy my prints I have teamed up with the American company iCanvas on selling my photography with worldwide shipping. They offer beautiful handcrafted canvases and wall art with lifetime warranty to a [...]
Setting up your DSLR
How to set up your DSLR In this article I will start with the single most important thing when shooting landscape photography; understanding how to use your DLSR in the best possible [...]
Supersize in Photoshop
Supersize your photos without quality loss in Photoshop In the latest Photoshop update (March 2021) they have dived deeper into the AI technology, returning with an impressive tool to double the size [...]