Man vs Nature
In this article I will speak about one of my most popular photos and how I achieved it.
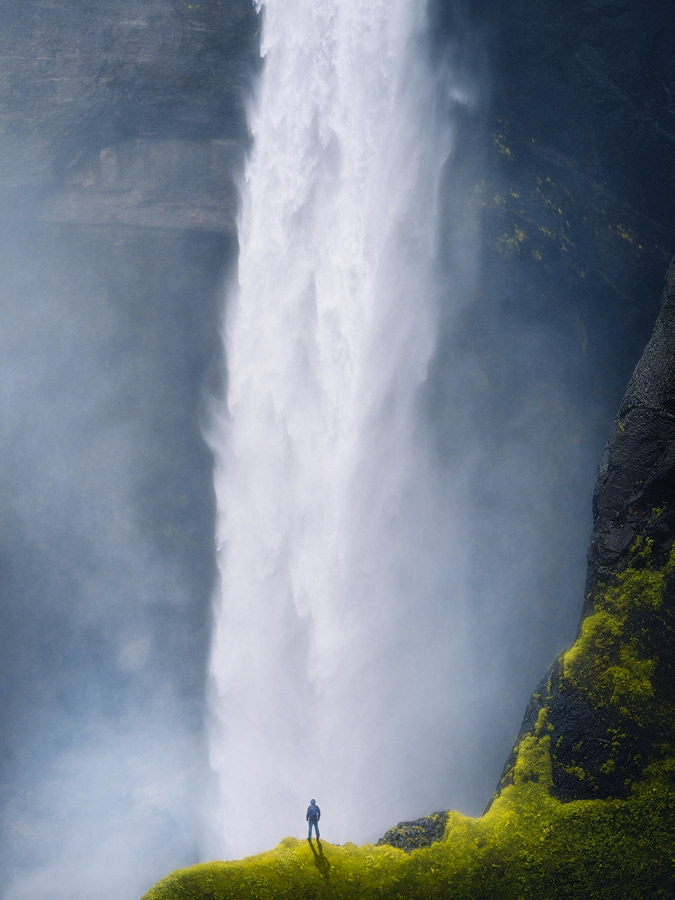
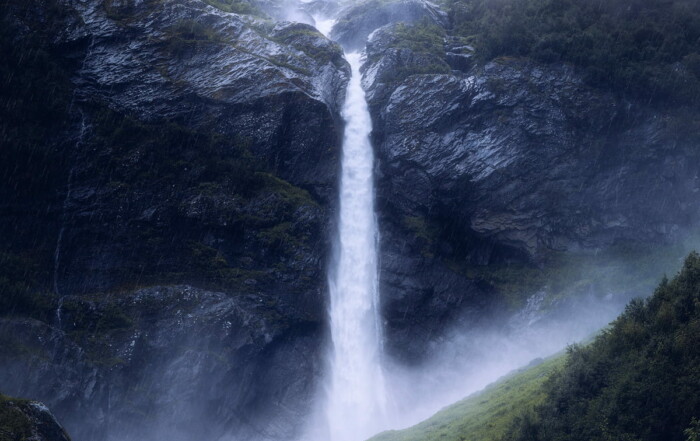
It was taken at the waterfall Haifoss on Iceland and was a photo I had planned even before I left for Iceland.
Always before leaving on my photo trips I spend many hours scouting for motives on Google Maps and Google Earth.
Here you can use street view to get a 360 degree view of areas, but there are also alot of nature areas where you can use the same technique.
By simply dropping the yellow man symbol on the small blue dots in maps, you will have an amazing way to look for locations beforehand.
As I was doing this, I zoomed in to Haifoss and figured that a great way to show the scale of this 122 meters tall giant was to have someone pose in front.
Getting up on that cliff is not possible, but I thought if I got the shot I wanted I could insert myself in the post-processing.
On the day we were going to Haifoss it was raining like crazy. The road up to the waterfall is a so called F-road which means you need a 4×4 wd car.
It is usually a bumpy road, but the bad weather made the road much worse. And at some point I was thinking we should turn around. But I really wanted to get this shot I had planned, so we continued.
I shot this with a Canon 70-200mm on tripod, to get it as sharp as possible. And since it was raining heavily I needed some attempts to avoid raindrops on the lense.
The trick is to set up the camera and find the correct exposure and focus. Wipe the lense and put the cap on. Then when you’re ready to shoot, remove the cap and get the shot before the lense gets wet again.
The rain also made the scene dark. I wanted to have as fast shutter speed as possible to get more details of Haifoss. Doing so I also had to use a higher ISO to avoid the scene getting too dark.
As I stood there, I also took a mental note of how big the person I would insert should be. In order to get the scale as realistic as possible.
The post-processing
Back in Norway I put on my hiking shoes and clothes and set up my camera gear in the hallway in my apartment.
I also put on the hood on my jacket in order to recreate the bad weather. And tried to place myself so that the light from the roof would fall on my jacket in a way that it would suit the lightsetting of the Haifoss photo. Set the camera on self-timer and posed as well as I could.
In the post-processing I did my changes like bringing back colors that were lost in the rain. And added the same light and shadows on both the Haifoss photo and the photo of myself.
Then in Photoshop using the magnetic lasso tool and masking I cut myself out from the photo and placed it into and in front of Haifoss.
Also added a shadow to make it more real. Once the object is cut, adding a shadow is fairly easy. Duplicate the layer and fill it with black. Then rotate it 180 degrees, flip it and then take down the opacity of the layer. And add some blur to the shadow. You can also make the shadow fade out by brushing with a soft brush on a layer mask. Then I made the final adjustments on the whole photo.
And it was with great satisfaction I could conclude that a photo I had started to plan months ahead, turned out just how I wanted it.
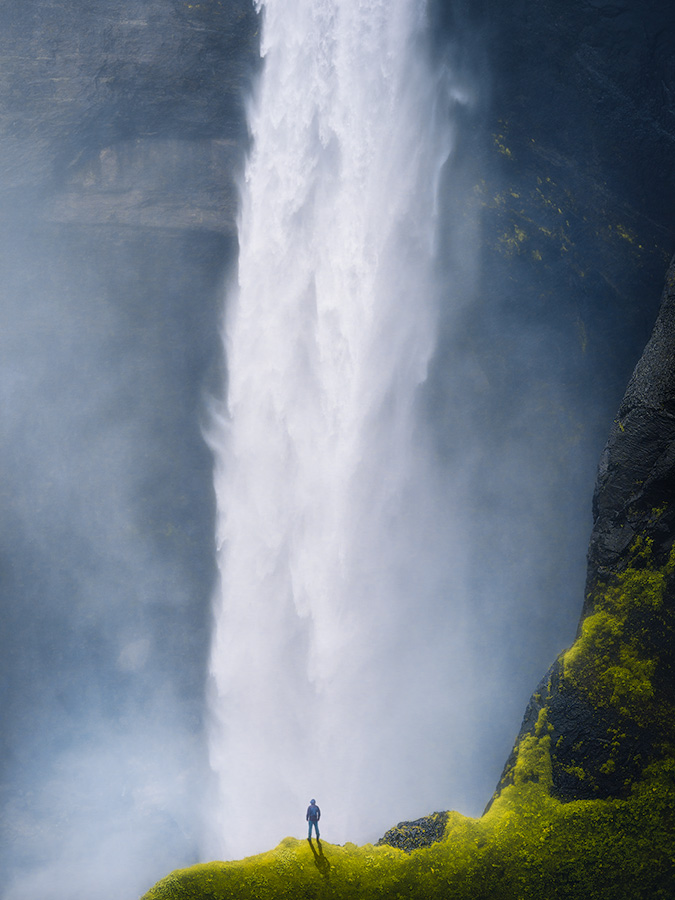
The final image
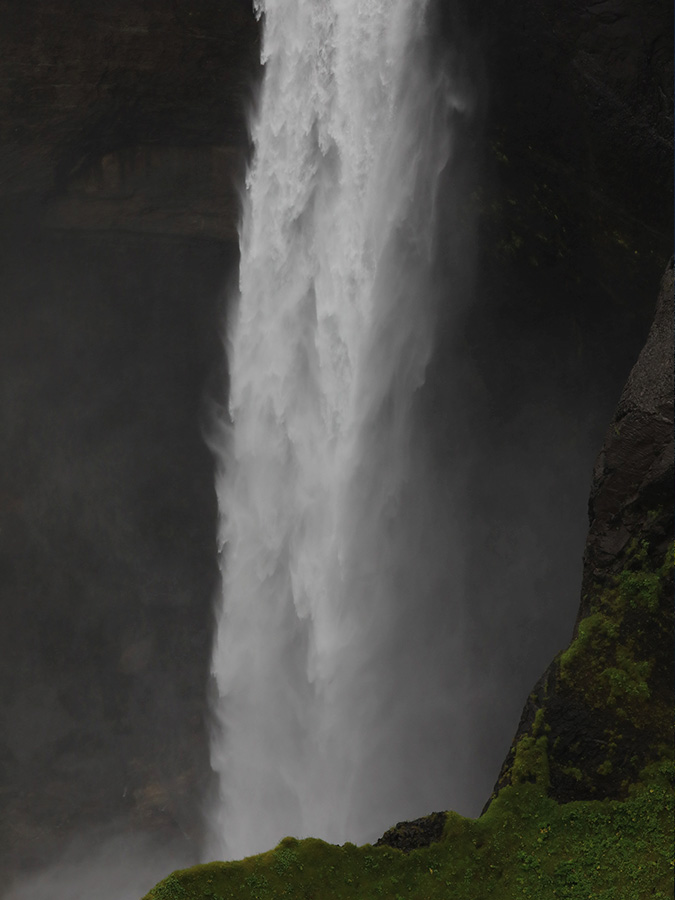
Slide to see before & after
Recent articles
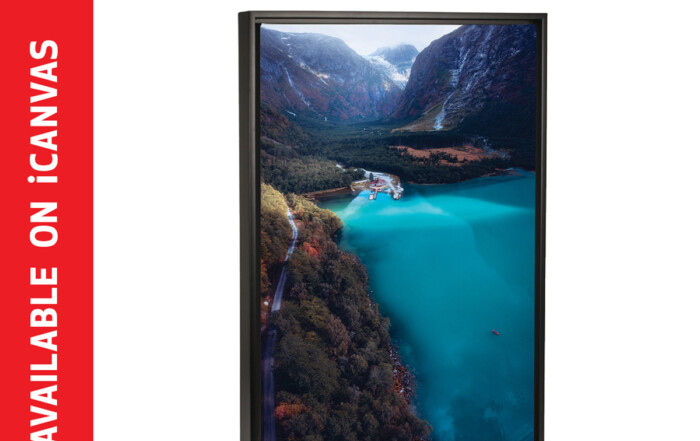
Buy my prints
Buy my prints I have teamed up with the American company iCanvas on selling my photography with worldwide shipping. They offer beautiful handcrafted canvases and wall art with lifetime warranty to a [...]
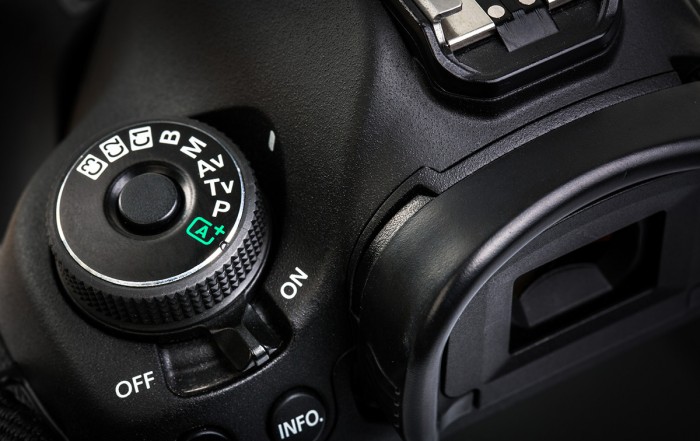
Setting up your DSLR
How to set up your DSLR In this article I will start with the single most important thing when shooting landscape photography; understanding how to use your DLSR in the best possible [...]
Supersize in Photoshop
Supersize your photos without quality loss in Photoshop In the latest Photoshop update (March 2021) they have dived deeper into the AI technology, returning with an impressive tool to double the size [...]