How to avoid overexposed sky using HDR
Something many photographers struggle with, is getting both the sky and the ground exposed correctly in the same shot.
And a common issue is the blown out overexposed sky, which can be close to impossible to fix in the post-processing.
You can of course use a soft graduated ND filter, which will bring down the hightlights in the sky.
Yet, I find filters too spacey to carry on my longer hikes. And on this particular shot I only had a short window where the lake was completely still, so I would get the reflection I wanted.
So if you use the right technique while out shooting, it is actually quite easy to fix the overexposed sky in the post-processing. Even without the use of ND filters.
Making both the sky and the ground look good.
In this article I will explain how to avoid overexposed sky by using HDR.
HDR stands for High Dynamic Range, and will give you a much wider range of light and shadows to work on.
All modern DSLR cameras have a HDR function, and what it does is shooting minimum three photos at the same time.
One regular, one overexposed and one underexposed photo.
Merged together you will have a photo where you have total control of both shadows and highlights.
When shooting at daytime, you should also underexpose your photos around -1 EV using your metering system.
Learn more about that here.
How to avoid overexposed sky using HDR
How to avoid overexposed sky
Something many photographers struggle with, is getting both the sky and the ground exposed correctly in the same shot.
And a common issue is the blown out overexposed sky, which can be close to impossible to fix in the post-processing.
You can of course use a soft graduated ND filter, which will bring down the hightlights in the sky.
Yet, I find filters too spacey to carry on my longer hikes. And on this particular shot I only had a short window where the lake was completely still, so I would get the reflection I wanted.
So if you use the right technique while out shooting, it is actually quite easy to fix the overexposed sky in the post-processing. Even without the use of ND filters.
Making both the sky and the ground look good.
In this article I will explain how to avoid overexposed sky by using HDR.
HDR stands for High Dynamic Range, and will give you a much wider range of light and shadows to work on.
All modern DSLR cameras have a HDR function, and what it does is shooting minimum three photos at the same time.
One regular, one overexposed and one underexposed photo.
Merged together you will have a photo where you have total control of both shadows and highlights.
When shooting at daytime, you should also underexpose your photos around -1 EV using your metering system.
Learn more about that here.
Camera settings
Below are the three HDR shots I took of this scene, which was on a really bright day.
On my Canon 5D Mark IV I set the HDR to +-2 EV.
Since it was a sunny day I set my ISO to 640, so I would get even more details in the shadows.
I also underexposed the shots by -1 EV using the metering system and used a polarizer filter, which is always screwed on my lense, to get a better reflection.
Regular version
Underexposed version
Overexposed version
Post-processing
Open the three photos in Lightroom.
Then select all three, right click and choose Photo Merge –> HDR.
Check Auto Align, make sure Auto Settings stays unchecked and set Deghost Amount to None.
Then hit Merge.
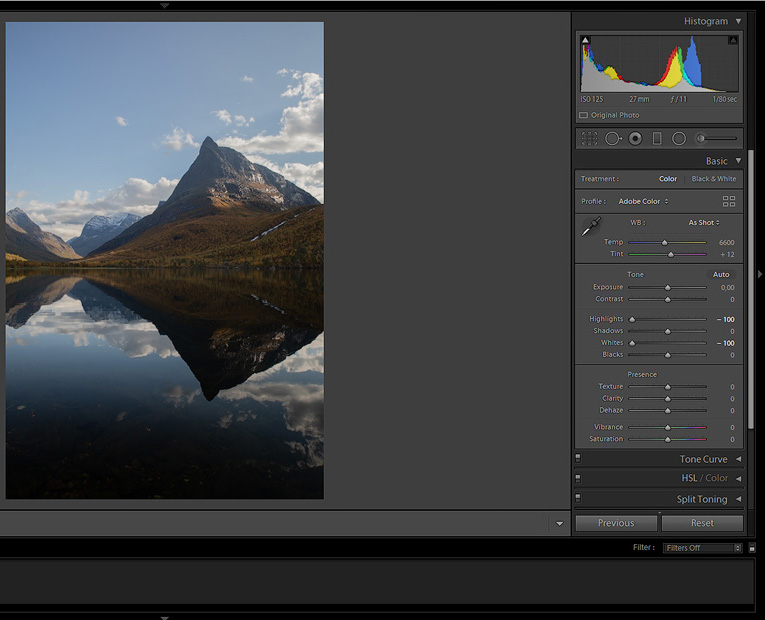
Head over to the Basic panel and lower highlights and whites as much as needed.
And since this is now a HDR photo with a much higher range of highlights to adjust, the sky will appear.


Post-processing
Open the three photos in Lightroom.
Then select all three, right click and choose Photo Merge –> HDR.
Check Auto Align, make sure Auto Settings stays unchecked and set Deghost Amount to None.
Then hit Merge.
Head over to the Basic panel and lower highlights and whites as much as needed.
And since this is now a HDR photo with a much higher range of highlights to adjust, the sky will appear.

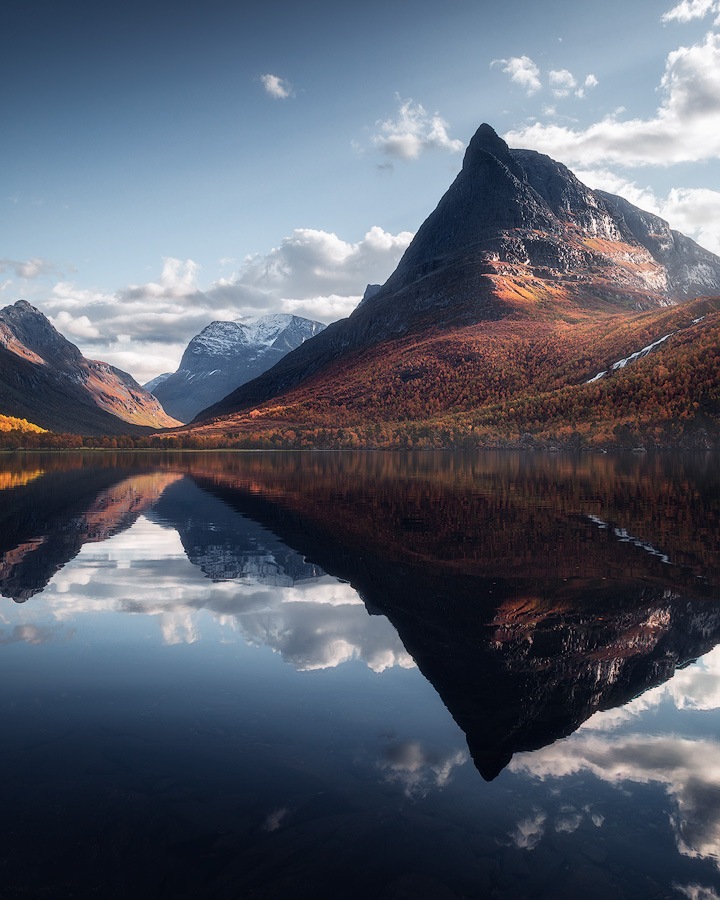
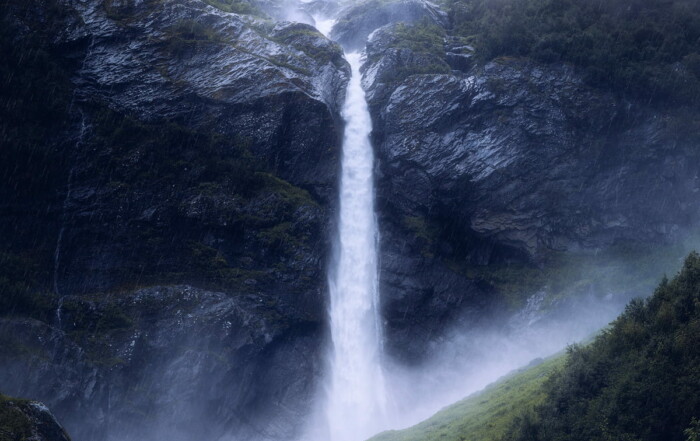
The final result
I did some final adjustments and ended up with this photo.
Learn more about that in my post-processing tutorials.
The final result
I did some final adjustments and ended up with this photo.
Learn more about that in my post-processing tutorials.
Recent articles
Buy my prints
Buy my prints I have teamed up with the American company iCanvas on selling my photography with worldwide shipping. They offer beautiful handcrafted canvases and wall art with lifetime warranty to a [...]
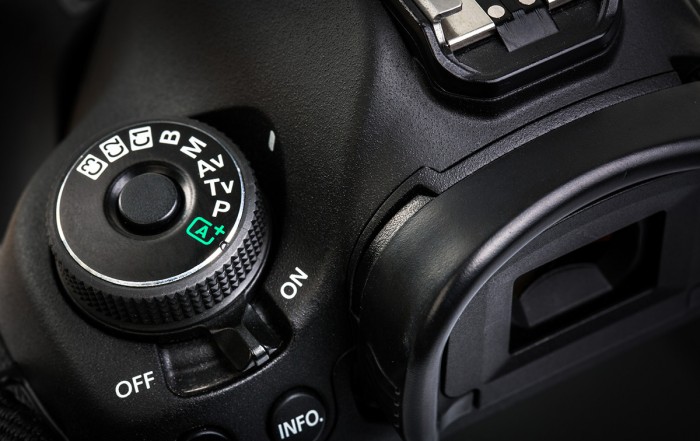
Setting up your DSLR
How to set up your DSLR In this article I will start with the single most important thing when shooting landscape photography; understanding how to use your DLSR in the best possible [...]
Supersize in Photoshop
Supersize your photos without quality loss in Photoshop In the latest Photoshop update (March 2021) they have dived deeper into the AI technology, returning with an impressive tool to double the size [...]