How to create light rays in Photoshop
Light is an important part of photography. But often you may experience that you have a cool motive, yet the light is not that exciting.
Adding light rays can be the extra punch you need in the photo, and that is quite easy to add in the post-processing.
There are a lot of brushes you can use, but the best ones you have to buy.
So in this article I will show you an easy and free of charge way to create light rays in Photoshop.
First we are going to create a light rays brush.
Go up to Windows –> Brushes. And at the bottom of the brushes popup push Create a new group and name it Light rays.
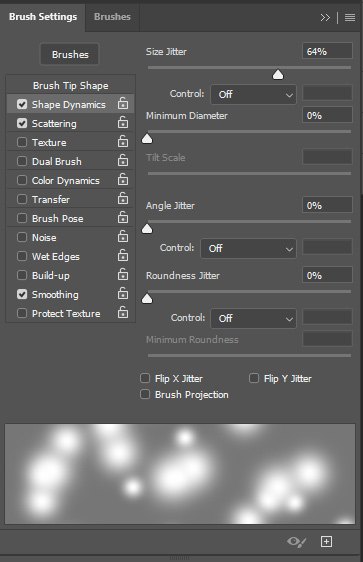
Mark the Light rays folder and hit F5 on your keyboard.
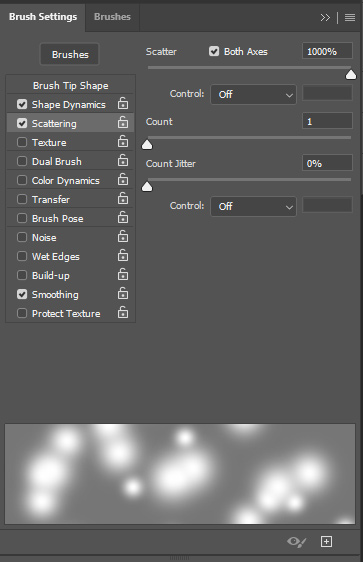
Add the adjustments as seen on the images below. Remember to mark Both Axes in Scattering.
You can play around with Size jitter and Scattering. This will adjust the size, amount and the space between each light rays.
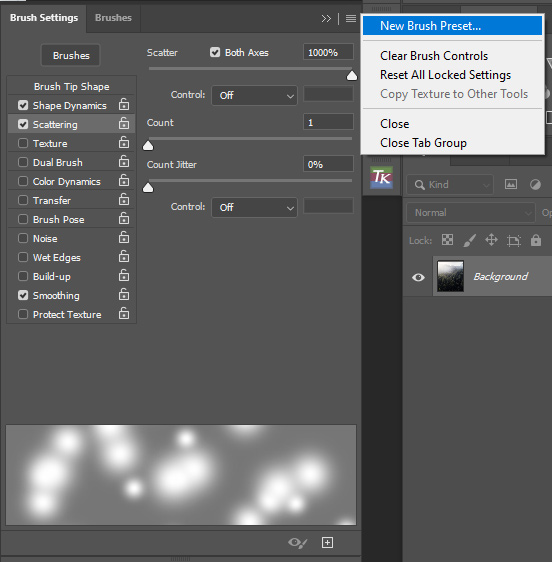
Then hit New Brush Preset in the top right corner and name the brush Light Rays.
Creating the light rays
Next up we will create the light rays.
Use the eye dropper tool to pick an appropriate color for the rays or use a color of choice.
I will use a light yellow color for this example.
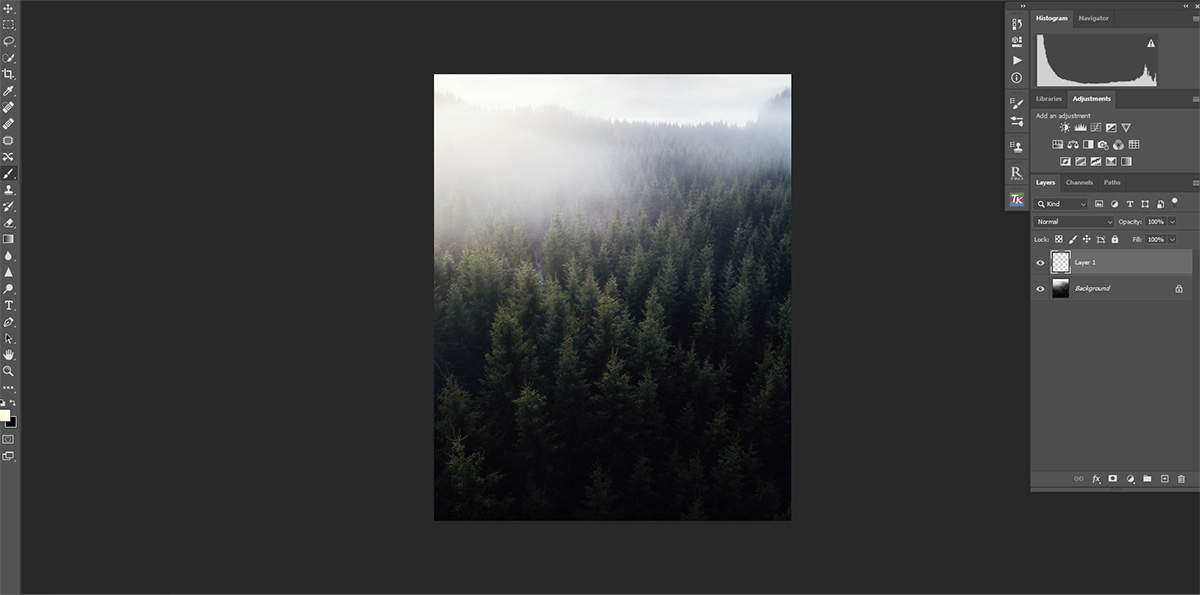
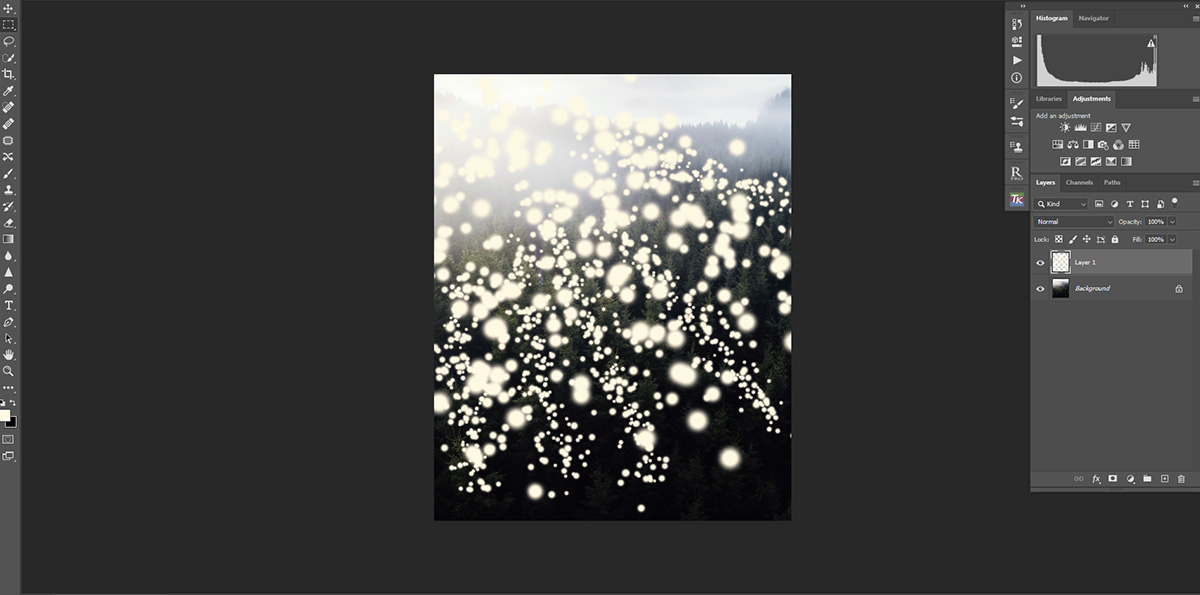
Create a new layer and set the size of the brush and a medium softness. I find that it is better to use a medium brush first, and then blur it afterwards if I want the light to be softer.
Opacity to 100% as we will lower that afterwards.
I want the light to come from the top left corner, so I will drag the brush from top left to bottom right corner.
When you draw the dots you can also change the size of the brush a couple of times, just to get some variantion of the rays size.
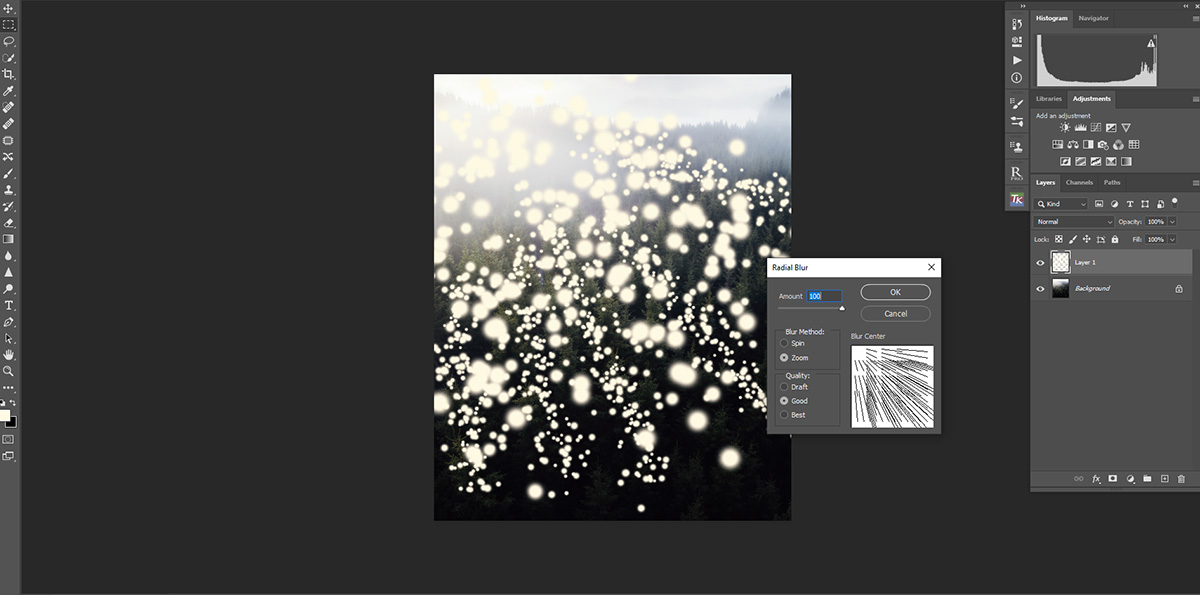
Then go up to Filter –> Blur –> Radial blur.
Set amount to 100, Blur method to Zoom and Quality to Good or Best. Place the Blur center so it will suit the direction you want on the light rays.
Then hit OK.
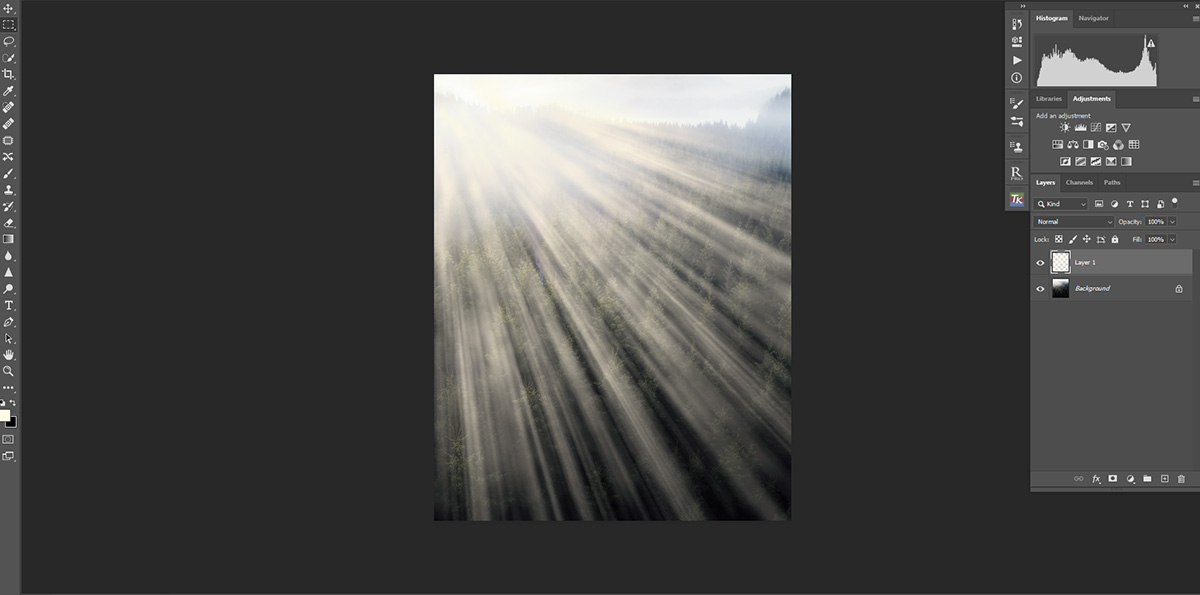
Head up to Filter and choose Radial filter one more time with the same amount.
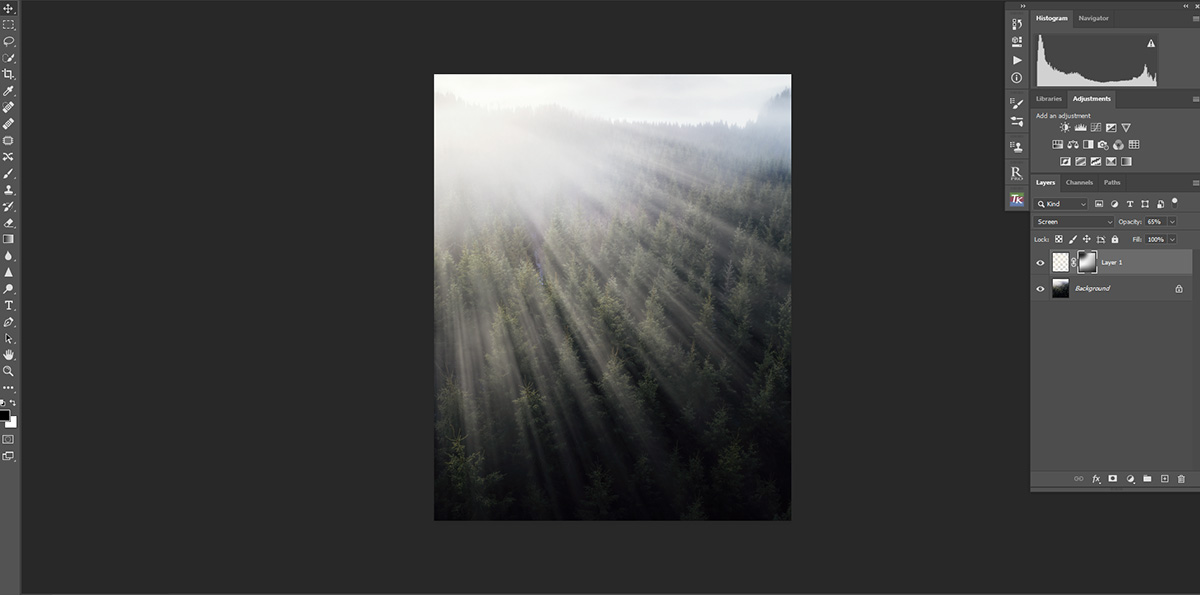
Change the lights rays layer to Screen mode.
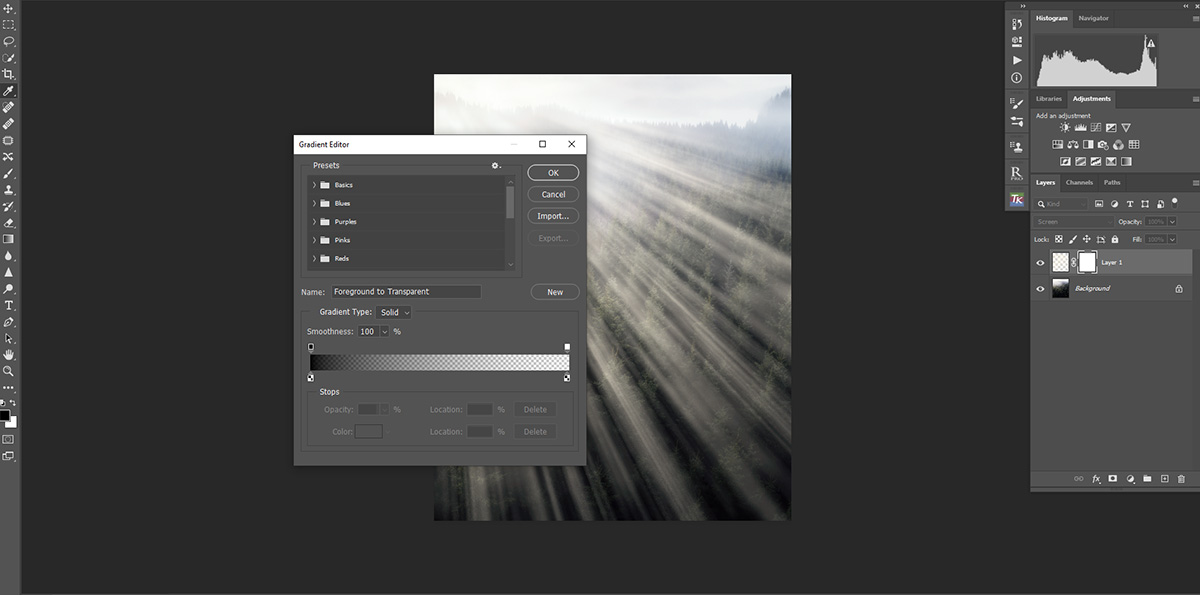
We want the light rays to fade out so they look more realistic. So create a layer mask on the light rays layer and choose black as foreground color.
Then choose the linear gradient, with foreground to transparent.
Set the opacity to around 50% and for this photo, I drag a couple of times from the bottom right towards top left.
As this is on a layer mask, the black foreground color will erase parts of the light rays making them look like they are fading into the forest.
On this example I will also use a soft brush, with black foreground color, to paint away some of the light rays in the top left corner.
I only want the light rays to be coming out of the mist. If the light rays are too bright, you can lower the opacity of the light rays layer.
Or if you want them brighter, duplicate the layer. You can also vary by setting the duplicated layer to for instance Soft Light.
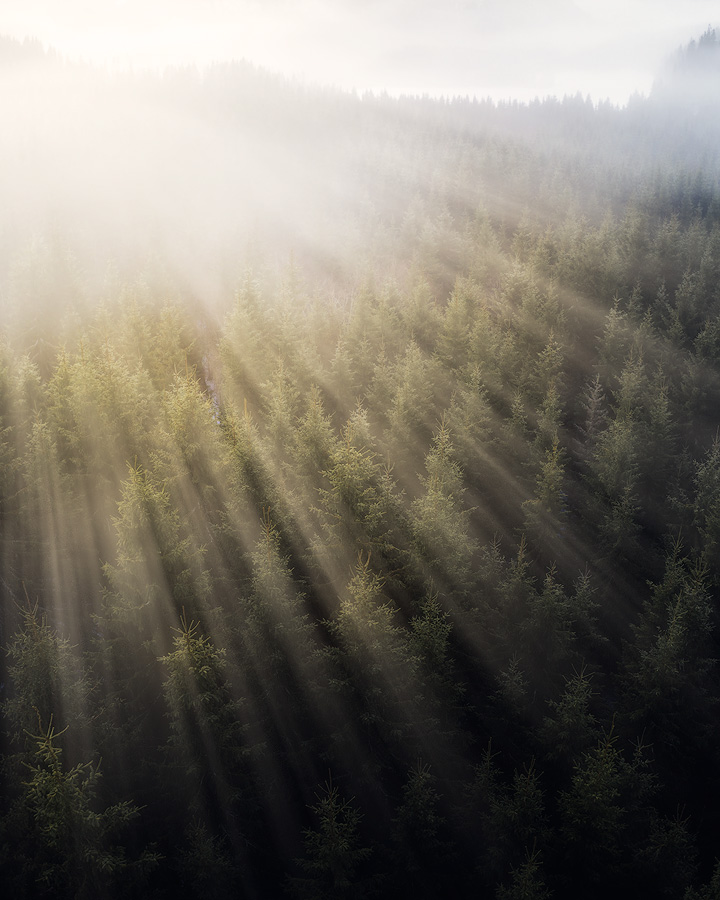
And that’s how you create light rays in an easy way in Photoshop.
Finally you can do some dodging and some softening to make the light look extra good.
You can learn more on those techniques in my tutorials.
Recent articles
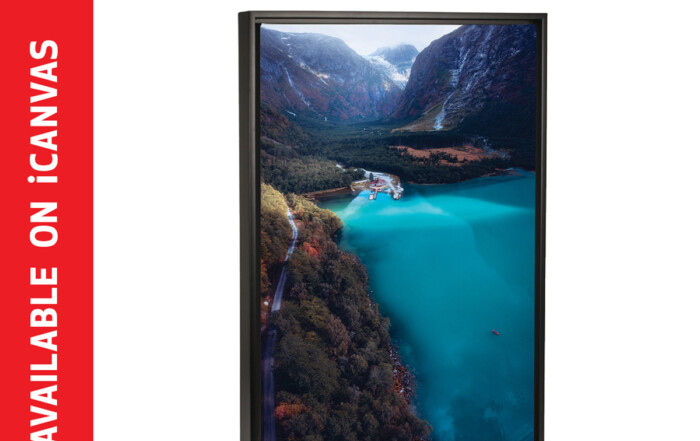
Buy my prints
Buy my prints I have teamed up with the American company iCanvas on selling my photography with worldwide shipping. They offer beautiful handcrafted canvases and wall art with lifetime warranty to a [...]
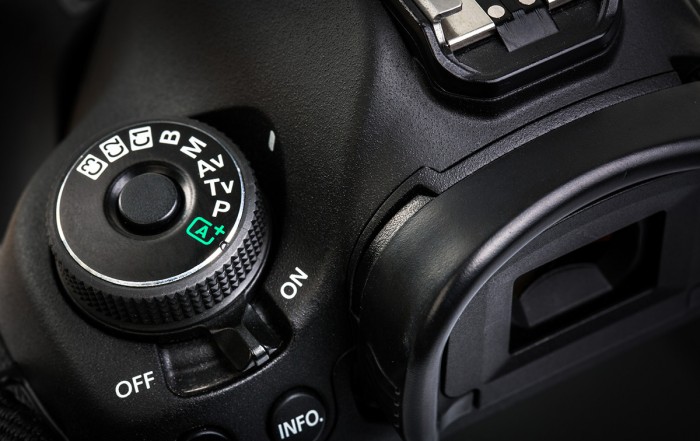
Setting up your DSLR
How to set up your DSLR In this article I will start with the single most important thing when shooting landscape photography; understanding how to use your DLSR in the best possible [...]
Supersize in Photoshop
Supersize your photos without quality loss in Photoshop In the latest Photoshop update (March 2021) they have dived deeper into the AI technology, returning with an impressive tool to double the size [...]