Drone photography
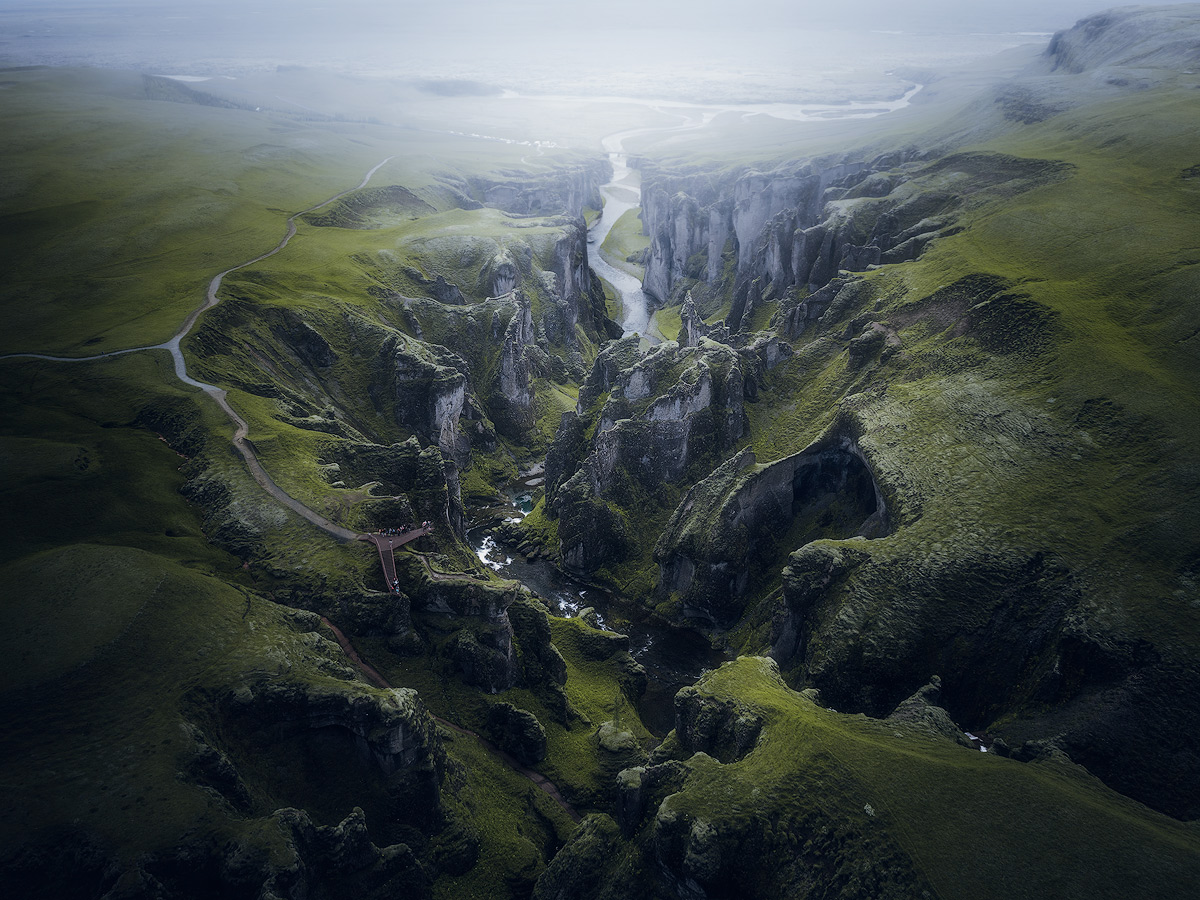
Using a drone for photography is great fun, and also a fantastic tool to capture new and exciting angles.
And the photo quality is getting better and better for each new model.
I am qurrently using Mavic 2 Pro, and the 20MP Hasselblad camera is a huge step up in quality since the Mavic Pro.
On the Mavic 2 Pro the autofocus has also improved a lot, making it much easier to get sharp photos.
But even so, what might look awesome on the screen when you’re flying, may look unsharp and out of focus when you get back and start post-processing the photos.
Best settings for Mavic Pro
The key to getting sharp photos is adjusting the settings manually, instead of the auto settings.
And the aperture is espesically important.
But when taking drone photography, you have to adjust the settings in a different way than on a regular DSLR.
When shooting for the entire photo being sharp with a DSLR camera you will have to use a small aperture. This means setting the camera to a high f number.
But on the drone, it is the opposite. Here you will have to use close to maximum aperture in order to get sharp photos, meaning a low f number.
So to get sharp drone photos you must use f2.8-f4. I usually shoot in f4, making even the edges sharp.
I find that setting it lower makes the photos too crisp for my taste.
As long as the light allows it, I also shoot with ISO 100 to avoid noise. And then adjust the exposure accordingly.
In the 5D button customization I have set left to decrease EV and right to increase EV in order to change the exposure easily.
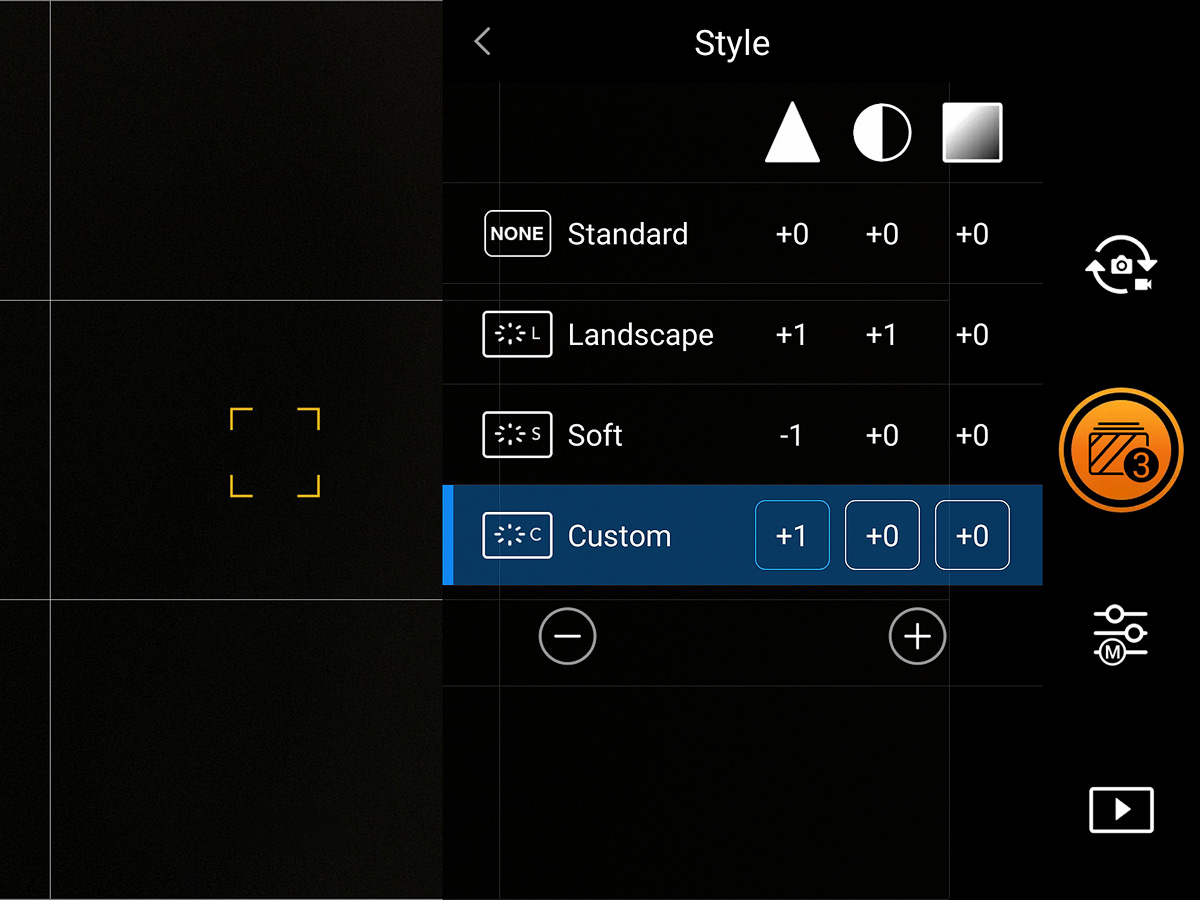
Also in the DJI GO app I have made a custom style where I have set sharpness to +1.
When focusing I almost always use autofocus, as this works very well on the Mavic 2 Pro.
And in the button customization I have set the C2 button to Camera setting .
This way I can easily access the settings if for example I want to turn on the peaking threshold.
Peaking threshold are red lines showing you what parts are in focus, and is a very helpful tool.
Then I can set focus to manual and finetune the focus if needed.
Of course shoot in RAW so you can sharpen the photos more in the post-processing, and use AEB.
You will find it under photo settings in the DJI app.
AEB is the same as shooting HDR. Meaning the drone will take one normal, one overexposed and one underexposed photo.
And when you merge these together, you will have a much wider dynamic range to work on shadows and highlights.
I have set my AEB to 3 shots, and find it more than enough.
Check out my tutorial if you want to learn how to merge AEB and also how to get the most out of your drone photos in the post-processing.
Also I recommend using a polarizer filter. This will enhance the details by removing reflections.
I always fly with a PL filter, and currently I’m using the NISI Enhanced PL filter.
Good luck and happy flying!
Recent articles
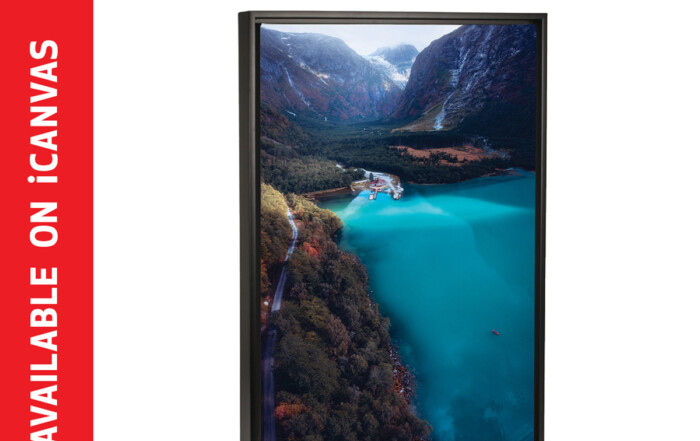
Buy my prints
Buy my prints I have teamed up with the American company iCanvas on selling my photography with worldwide shipping. They offer beautiful handcrafted canvases and wall art with lifetime warranty to a [...]
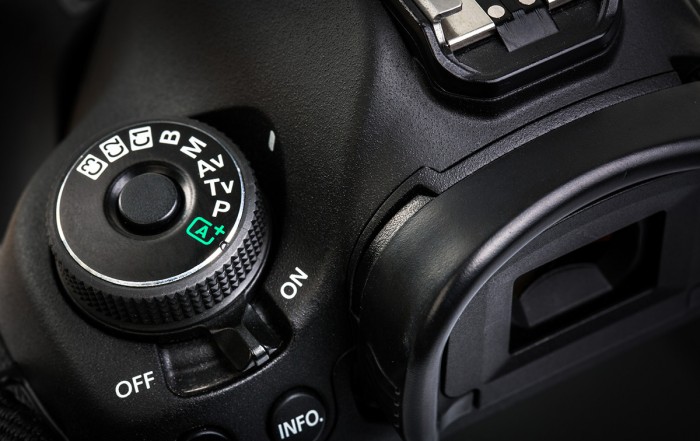
Setting up your DSLR
How to set up your DSLR In this article I will start with the single most important thing when shooting landscape photography; understanding how to use your DLSR in the best possible [...]
Supersize in Photoshop
Supersize your photos without quality loss in Photoshop In the latest Photoshop update (March 2021) they have dived deeper into the AI technology, returning with an impressive tool to double the size [...]